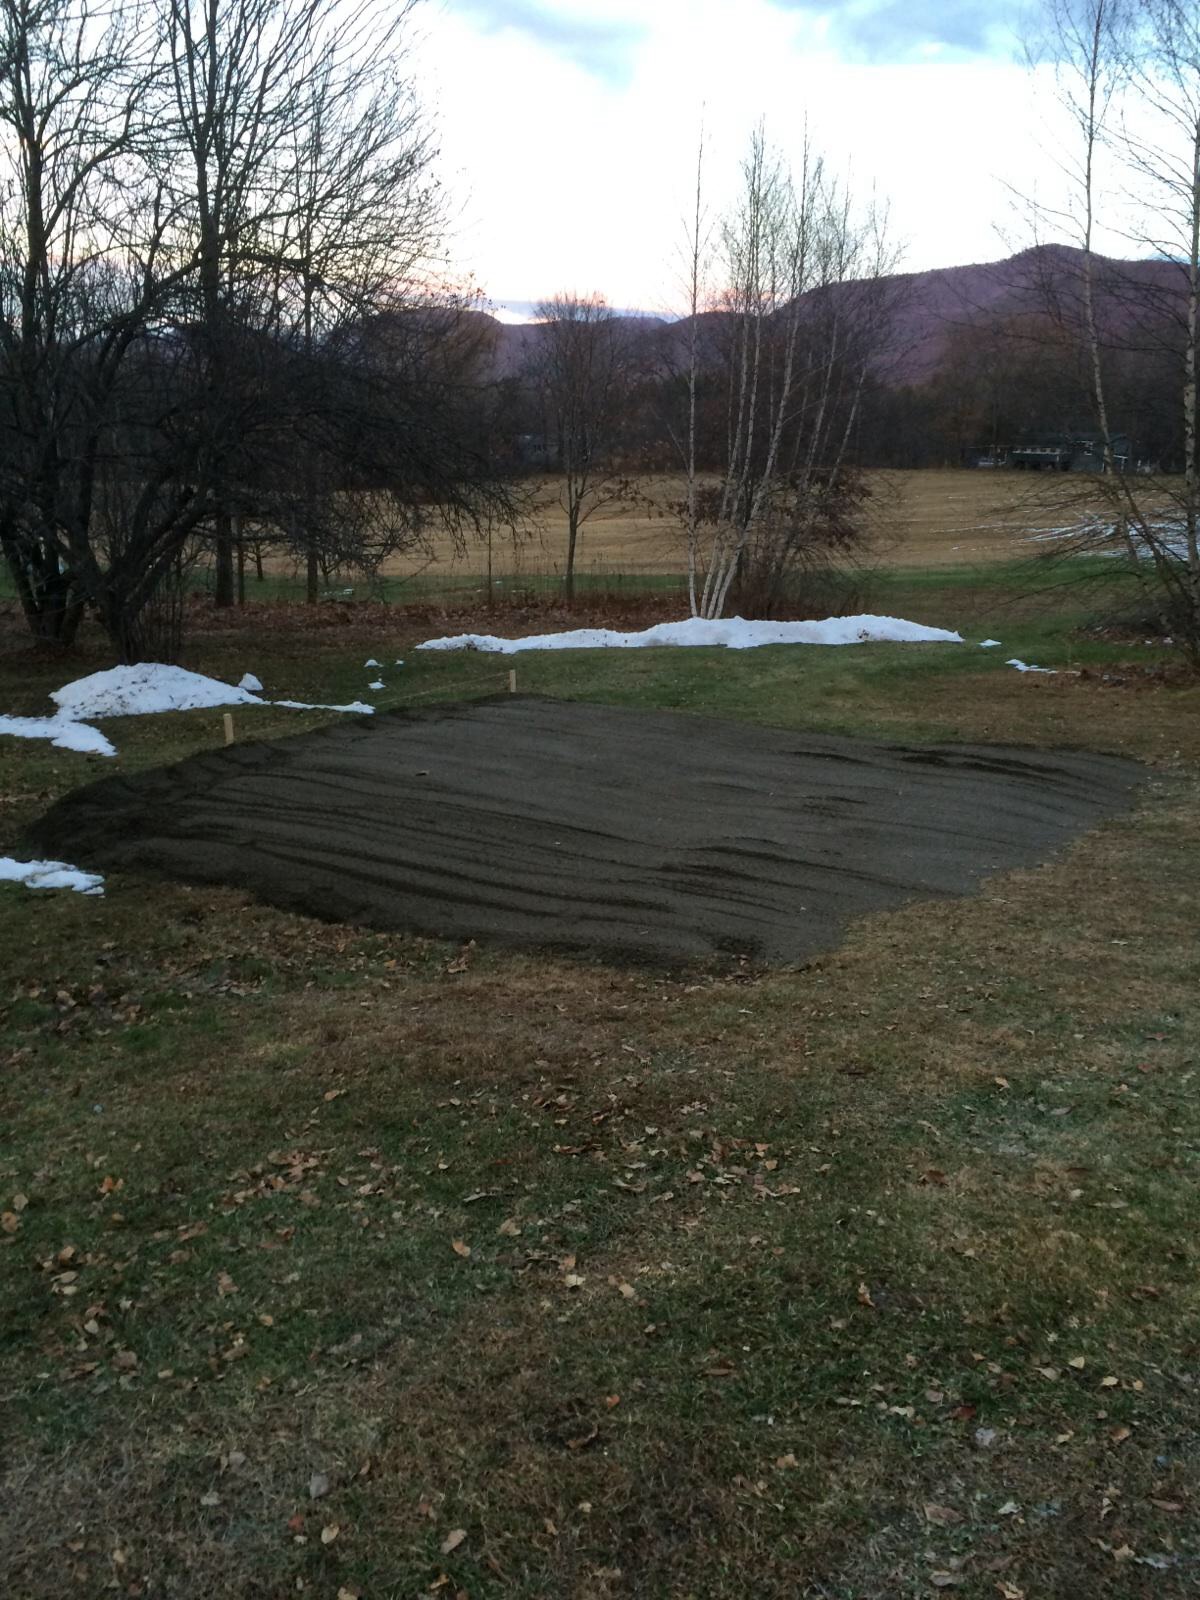
The first step to chicken coop preparation is to pick a site, and make sure it’s relatively level, and in this post I will tell you how we picked a site and then leveled the ground to prepare for the coop building.
WHY CHICKENS? I have wanted chickens for many years. We moved five years ago to a place which we chose in part because it would be possible to have chickens, but I postponed getting chickens due to my own dithering. I don’t usually dither, but coops were too expensive, we didn’t have the time to build one with the work needed on the house, and it became so trendy that it dismayed me just a tiny bit. Maybe dismay, maybe sour grapes? Then again two years ago, work on the house let up, and there was some room to begin something new, and I postponed again…because I figured it might be too much to add chicken chores with a new baby on the way. The physics of available time and space warp when a child is added to the mix, and I was also taking on a promotion at work at the same time, so I was hesitant to add even a tiny bit more of a daily chore. Instead of chickens, I started with bees, with the thought that monthly maintenance might be easier with bees in place of daily maintenance with chickens. More about the bees in another post…
This month, a little over two years later, I took action, and prepared the site to plan for the 8×10 shed chicken palace. The baby is now a toddler, and I think it’s the right time for us to start with chickens.
PICKING THE LOCATION: The initial coop site was much closer to the road, to plan for having a combined coop/farm stand selling eggs, greens, flowers, and pumpkins. We moved the coop site further up the driveway and back from the road so we’d feel more comfortable with our toddler’s proximity to any traffic when in (or running towards) the coop. Because we moved it further back, any produce stand will be installed separately and closer to the road at a later point. The second coop site was about 12 inches out of level, and the third about 9 inches out of level.
 WHY YOU WANT TO PREPARE THE SITE: Whether building or having a coop delivered, you need a level site. In New England, you also need a bed of gravel to prevent movement due to the ground freezing a thawing in the changing seasons. Ground movement means the building will go out of level and the doors or windows will not open or shut properly.
HOW WE LEVELED THE SITE: We put four 2-foot stakes in a square a couple feet larger in each direction than the planned shed, and looped twine around the stakes, pulled it taut between stakes, and hung a line level in the middle of the string between the first two stakes. We then pulled the twine up or down on the stakes until the line level bubble had a good level bubble position, and then repeated the leveling three more times (between each stake). Measuring the distance on each stake from the top of the string to the ground gave us the number of inches the site was “out of level.” My amazing husband trucked in six yards of gravel and leveled the site. The building itself will sit on skids, with a cement block under each corner to keep it high, hopefully dry, with good air circulation.
The coop will be situated between some older apple trees, a stand of young birches, and the bee hives, and we’ll have to run electricity under the driveway to power anti-freeze chicken waterers in the winter, and to provide some light. I am still considering a solar panel on the roof for this with the electric as a back up…but it’s still pretty expensive to install even a small solar panel, so I have to read some more about it before I proceed with any solar equipment (on my fancy fancy chicken shed). I’m really looking forward to this spring! Deciding what type of chickens and how many nest boxes, and the right amount of ventilation, what type of feeders, and the coop set up, and the run, and research–so much anticipation and planning to look forward to, and so much to accomplish. It’s going to be an excellent spring!