


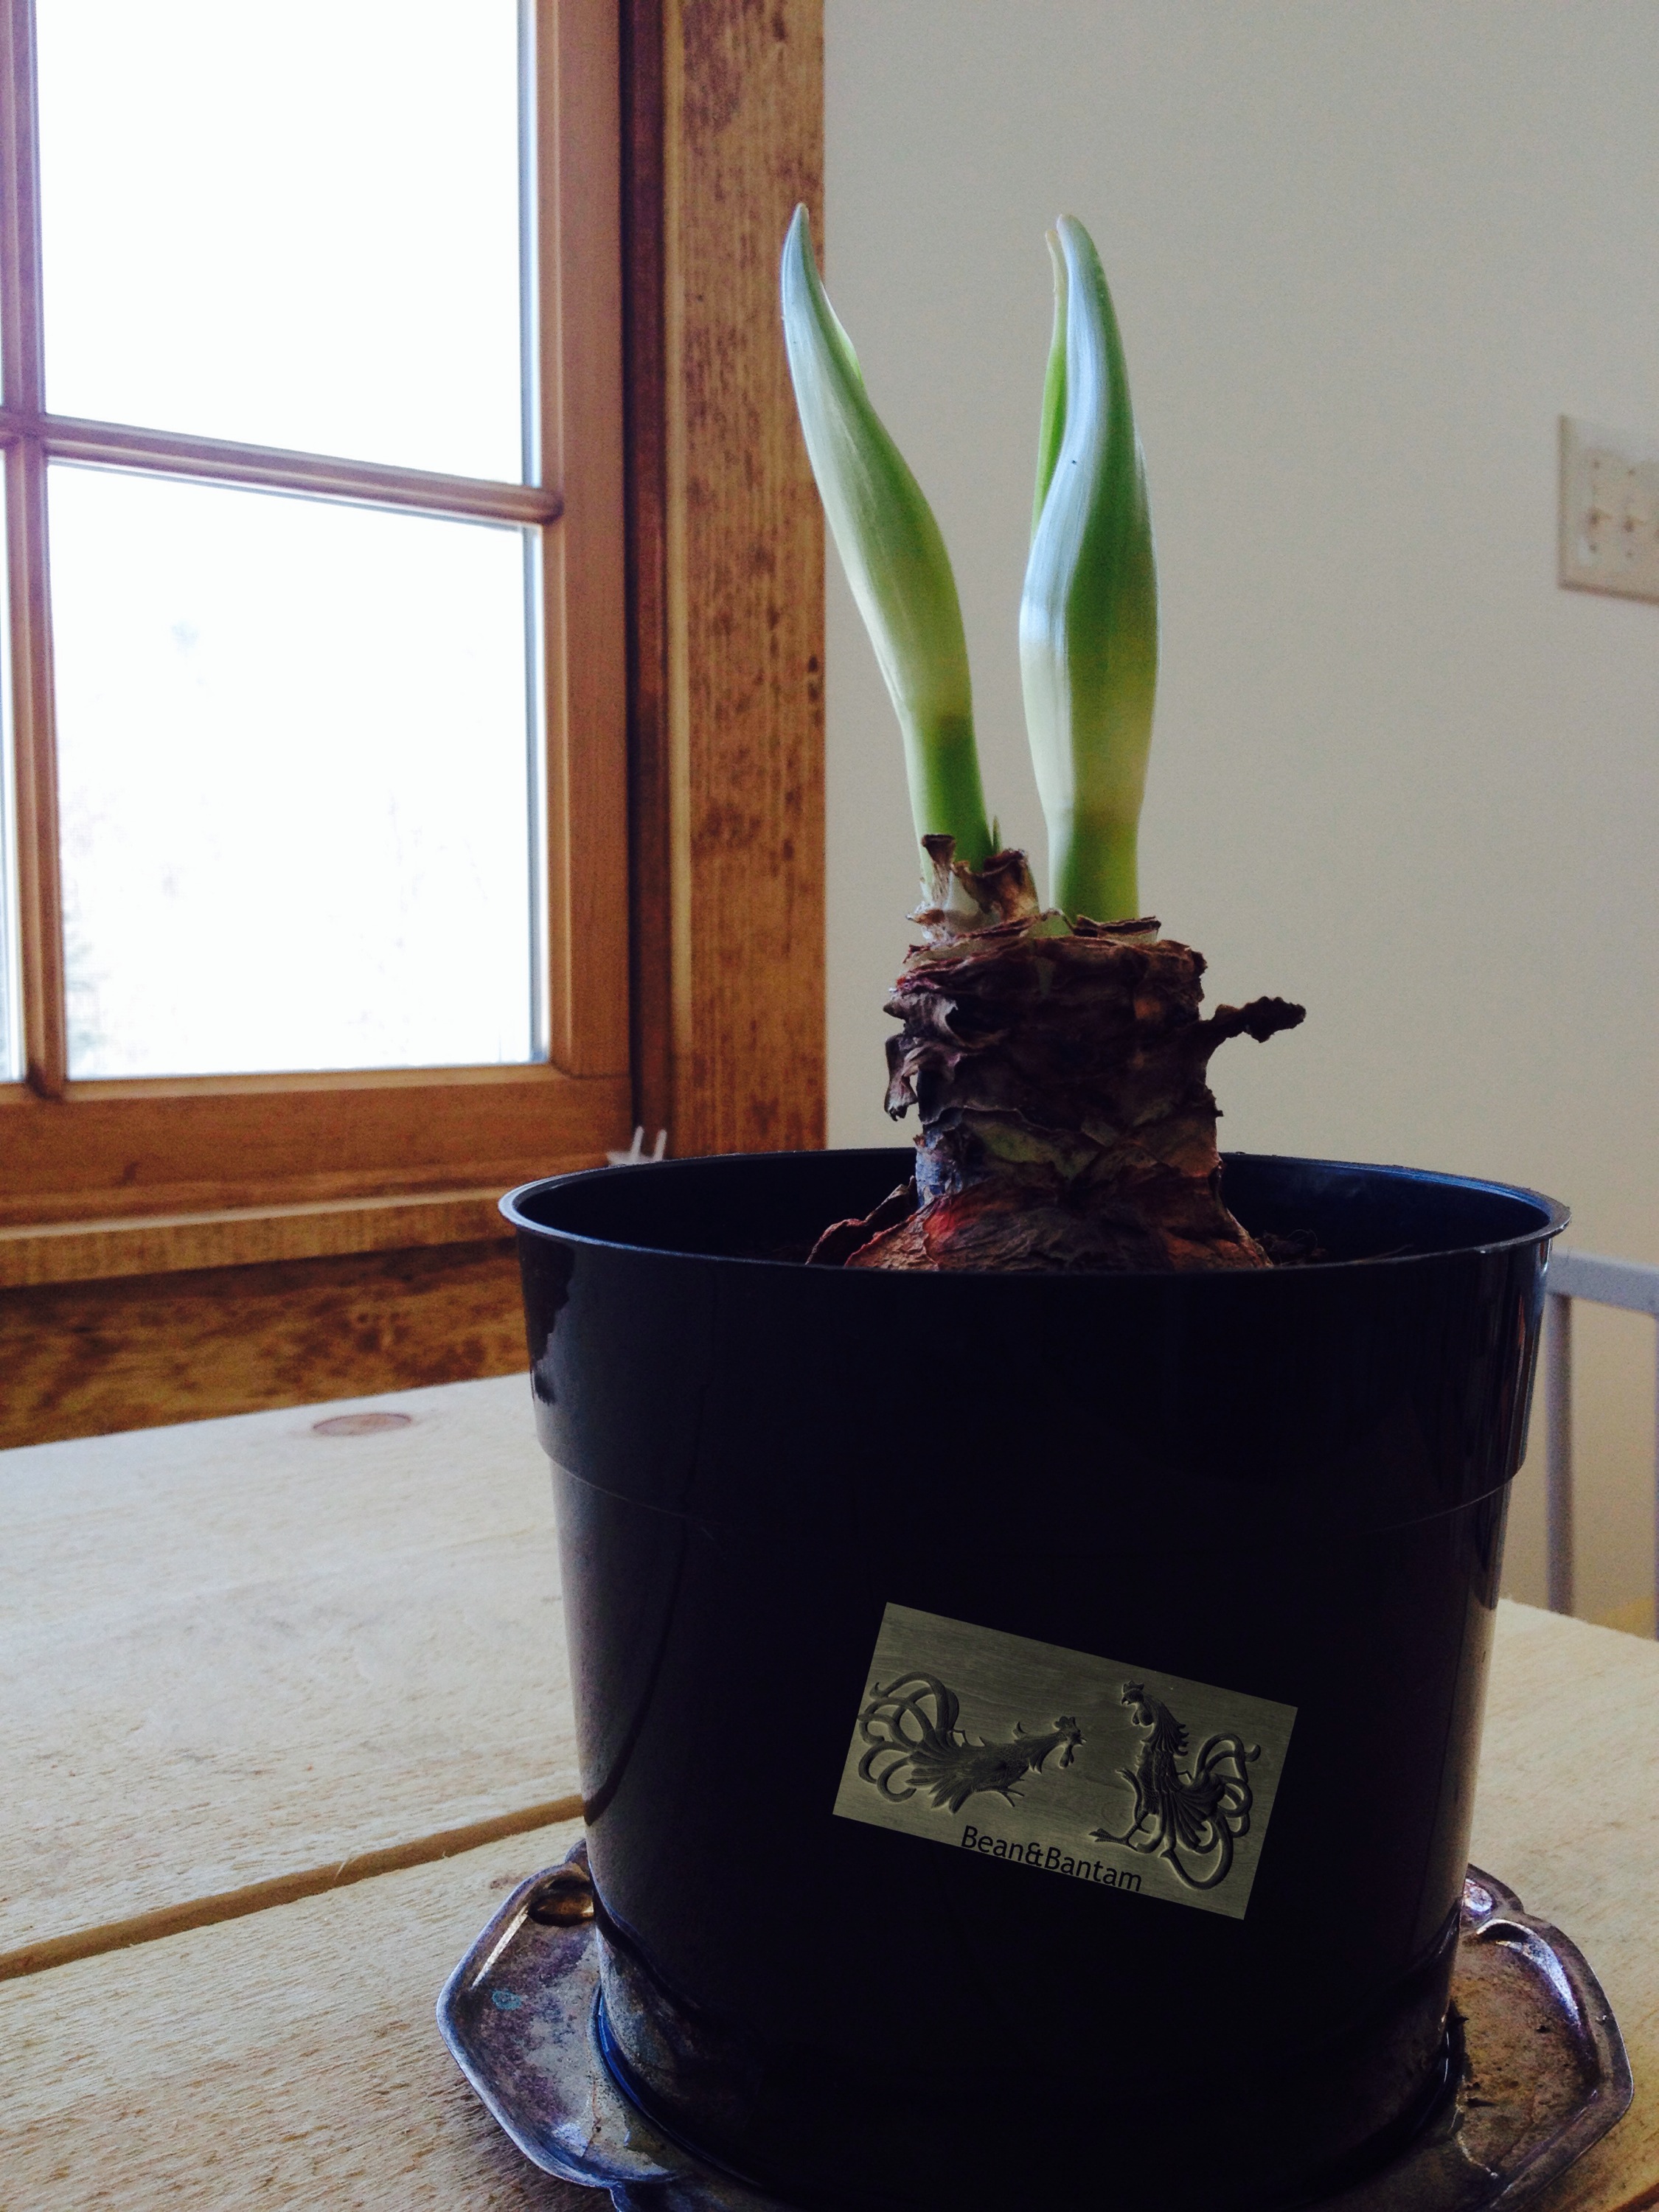
Messy kid fun can be had gardening when snow is still on the ground by planting amaryllis bulbs. Amaryllis bulbs grow fairly quickly and they generally flower less than a month from planting so it’s a great gardening experience for children.
INGREDIENTS
- boxed amaryllis bulbs which come complete with plastic pot and compressed planting medium (if you have loose amaryllis bulbs, then you will need potting mix and 4-6″ diameter planting pot and a saucer to catch water). Amaryllis bulbs are seasonally available in the fall and can be found deeply discounted once Christmas has passed. I found boxed kits for about $1.00 in the clearance aisle of a local retailer after the holidays.
- newspaper to cover table for easy clean up
- large kid-friendly spoon or sand tool for moving mix from bowl to pot
- water (I use the sink sprayer) to water the planted bulbs right after planting
 SET UP
ONE HOUR BEFORE: If using compressed planting disks: add hot water to the planting disks an hour before you begin (it takes time for the water to absorb and the planting mix to expand, and you want the mix to cool down before planting).
 5 MINUTES BEFORE: prepare for planting by covering table, kitchen counter, or a 4′ floor area with newspaper, set up all bulbs, pot, spoon or scoop and bowl of planting mix near each other. Clear kitchen sink because you will be setting pots into sink to water. If planting on counter, use chair or safe stand to raise toddler age child to counter level (use your best judgement for safety, our child pushes chairs up to the counter himself and is practiced at standing on them safely, but the floor might be safer).
INSTRUCTIONS
- Take a deep breath; do not expect perfection. The whole point of this is to have some messy fun, get some hands dirty, and enjoy the process, perfect or not. My little one (almost 3) yanked the bulb right out of the soil the first time after planting. It’s frustrating, but fixable, we just replanted the bulb. Spilled potting soil cleans up. If you are worried about mess and dirty hands and perfection, this is going to be a lot less fun. So take a deep breath and do not expect perfect results.
- Safety first: none of these ingredients are edible. Keep a close eye to be sure nothing gets eaten. If on a chair or safe stand, stay close to prevent slips or falls.
- Gather your materials together so everything is close at hand. If all of your ingredients are not gathered together on the newspaper covered table or counter do so now. Because your child may be on a chair or stand you DO NOT want to have to step away to get another ingredient. Have everything together.
 Ask your child to help you spoon potting mix into the pot until each pot is about 2/3 full. Remember to thank your child for helping, and to praise them for doing such a good job helping.
 Test the level of soil by placing a bulb on top. You want each full enough so that the bulb will be 7/8 covered with soil once planted, with about an inch of pot above the soil level for ease of watering later. Once the soil level is where you want it, settle the bulb in root side down and ask your child to spoon in more soil.
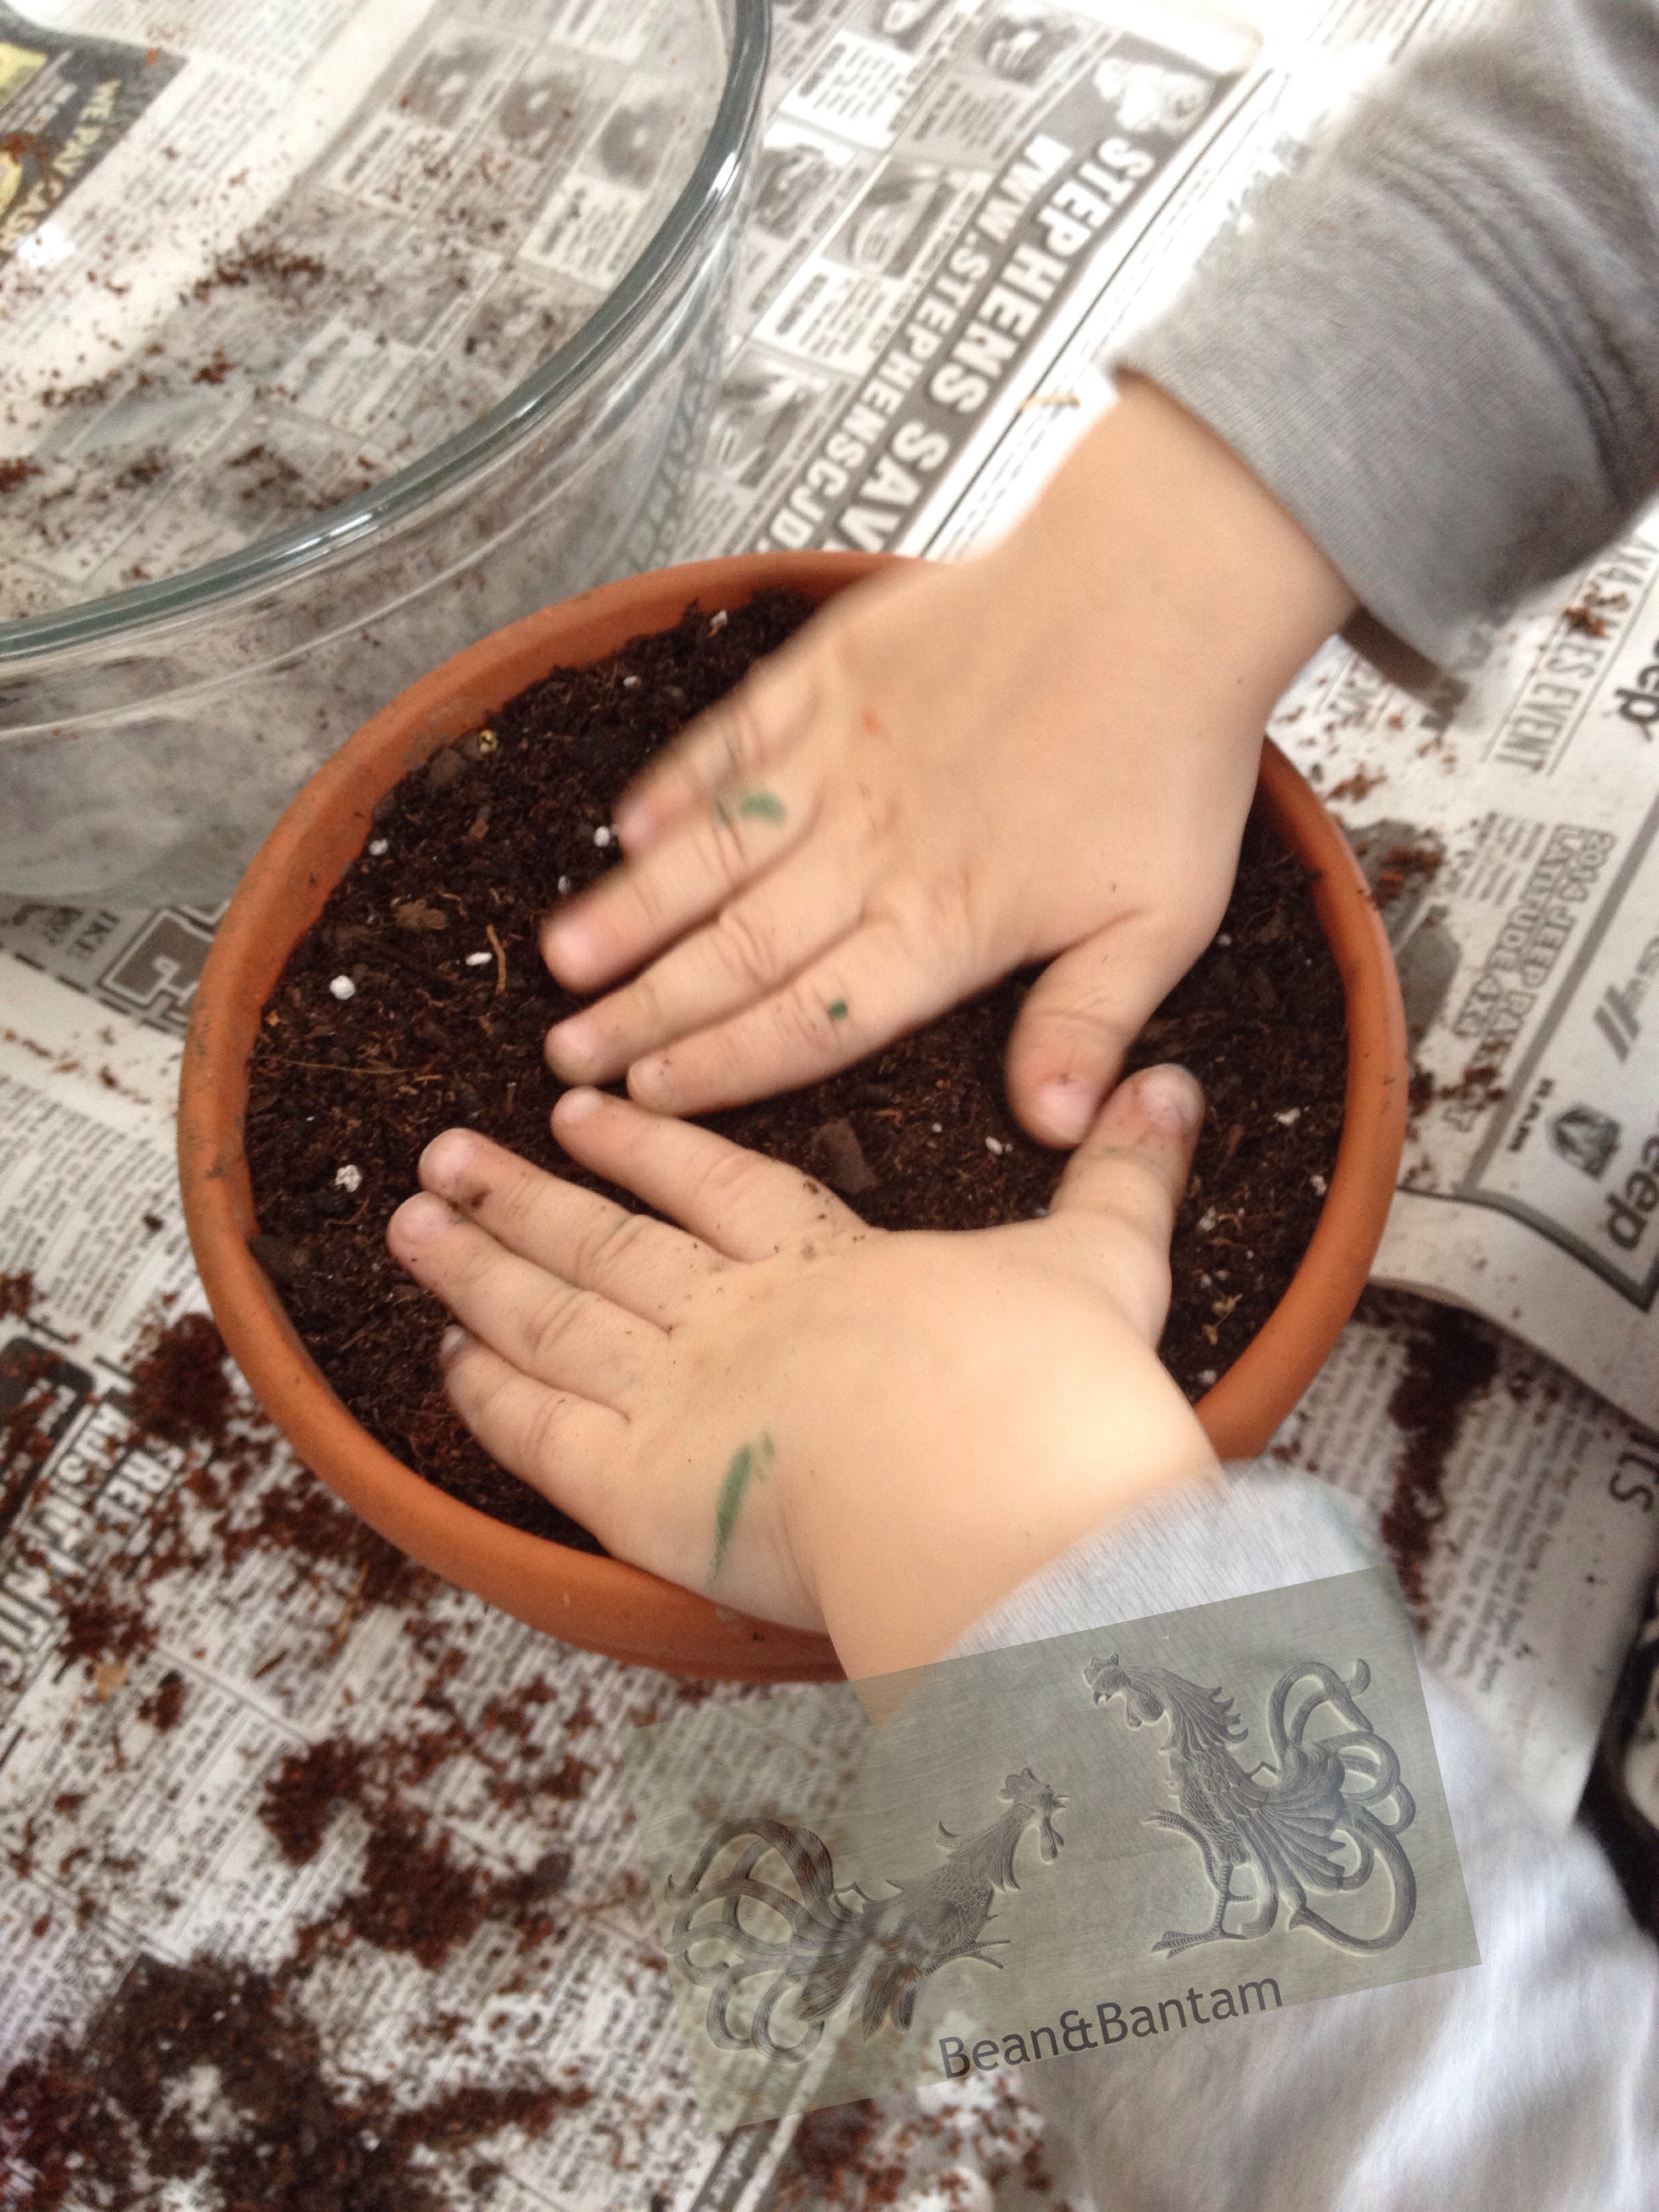
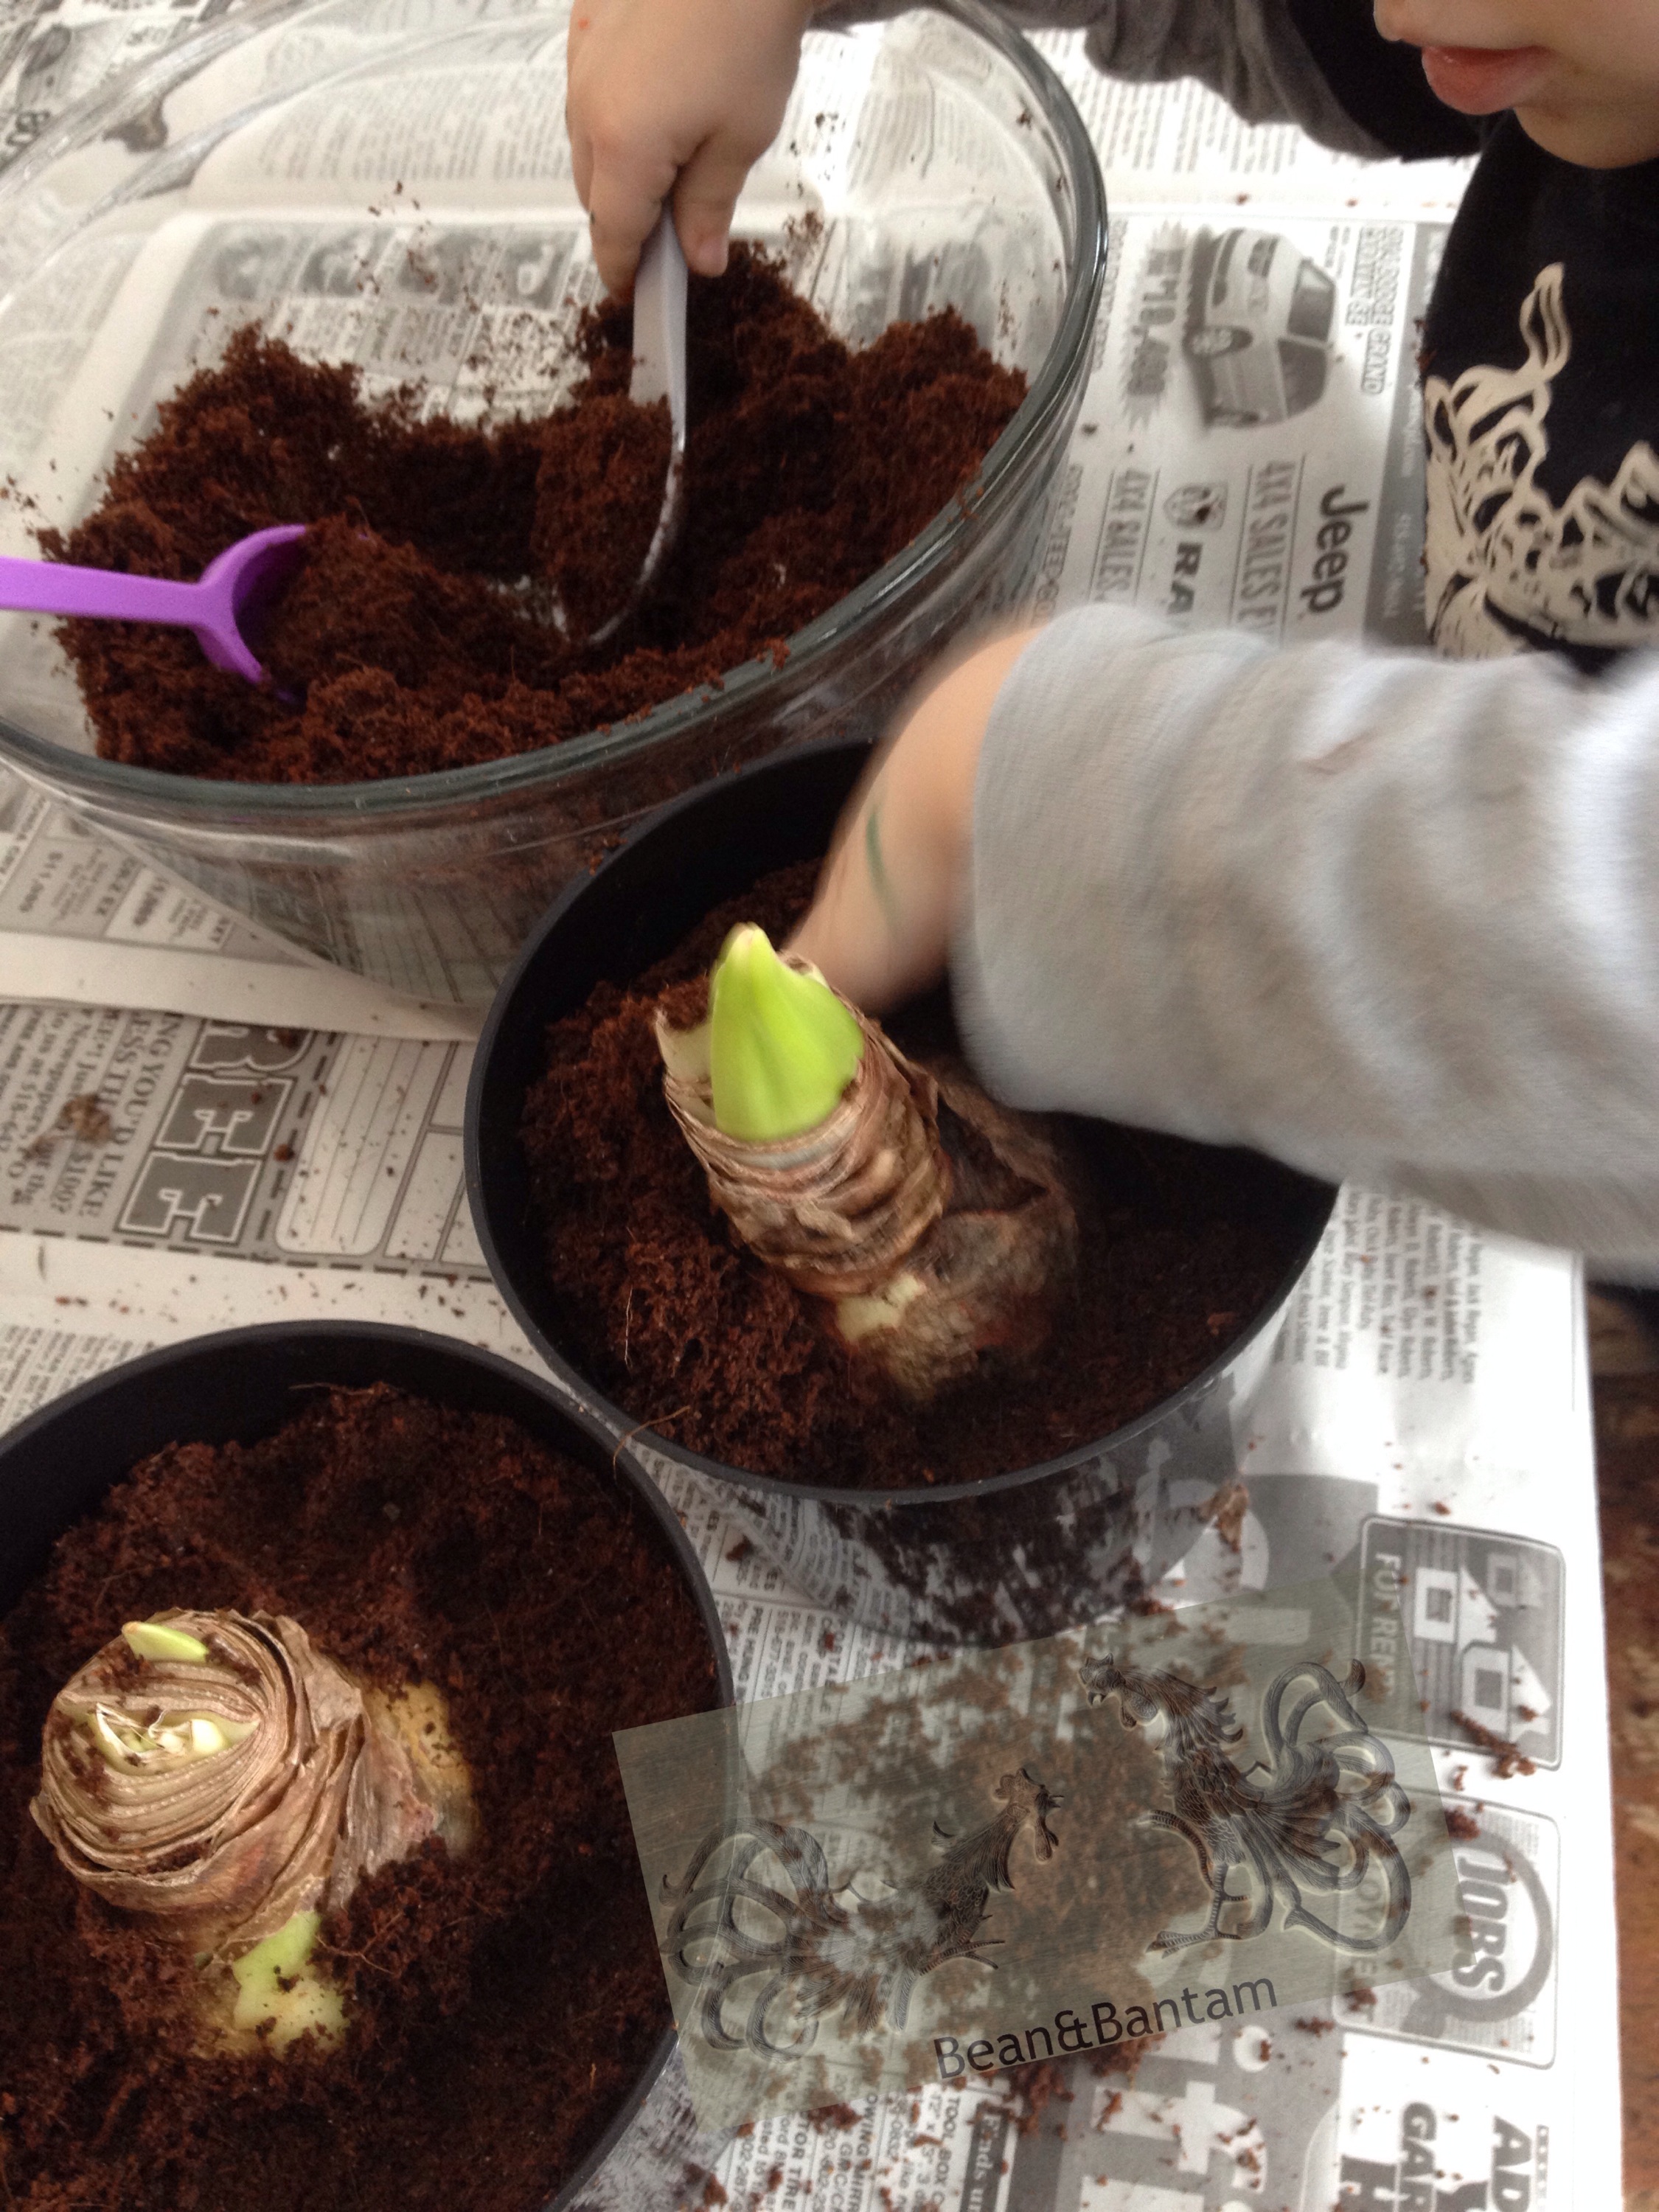 Firm the soil. Ask for help patting down the soil and spooning more soil in as needed. Firm the soil by pressing it down with fingers to the side of each bulb, all around the pot.Thanks and praise: again, thank your child for helping, and praise them for being such a good helper.
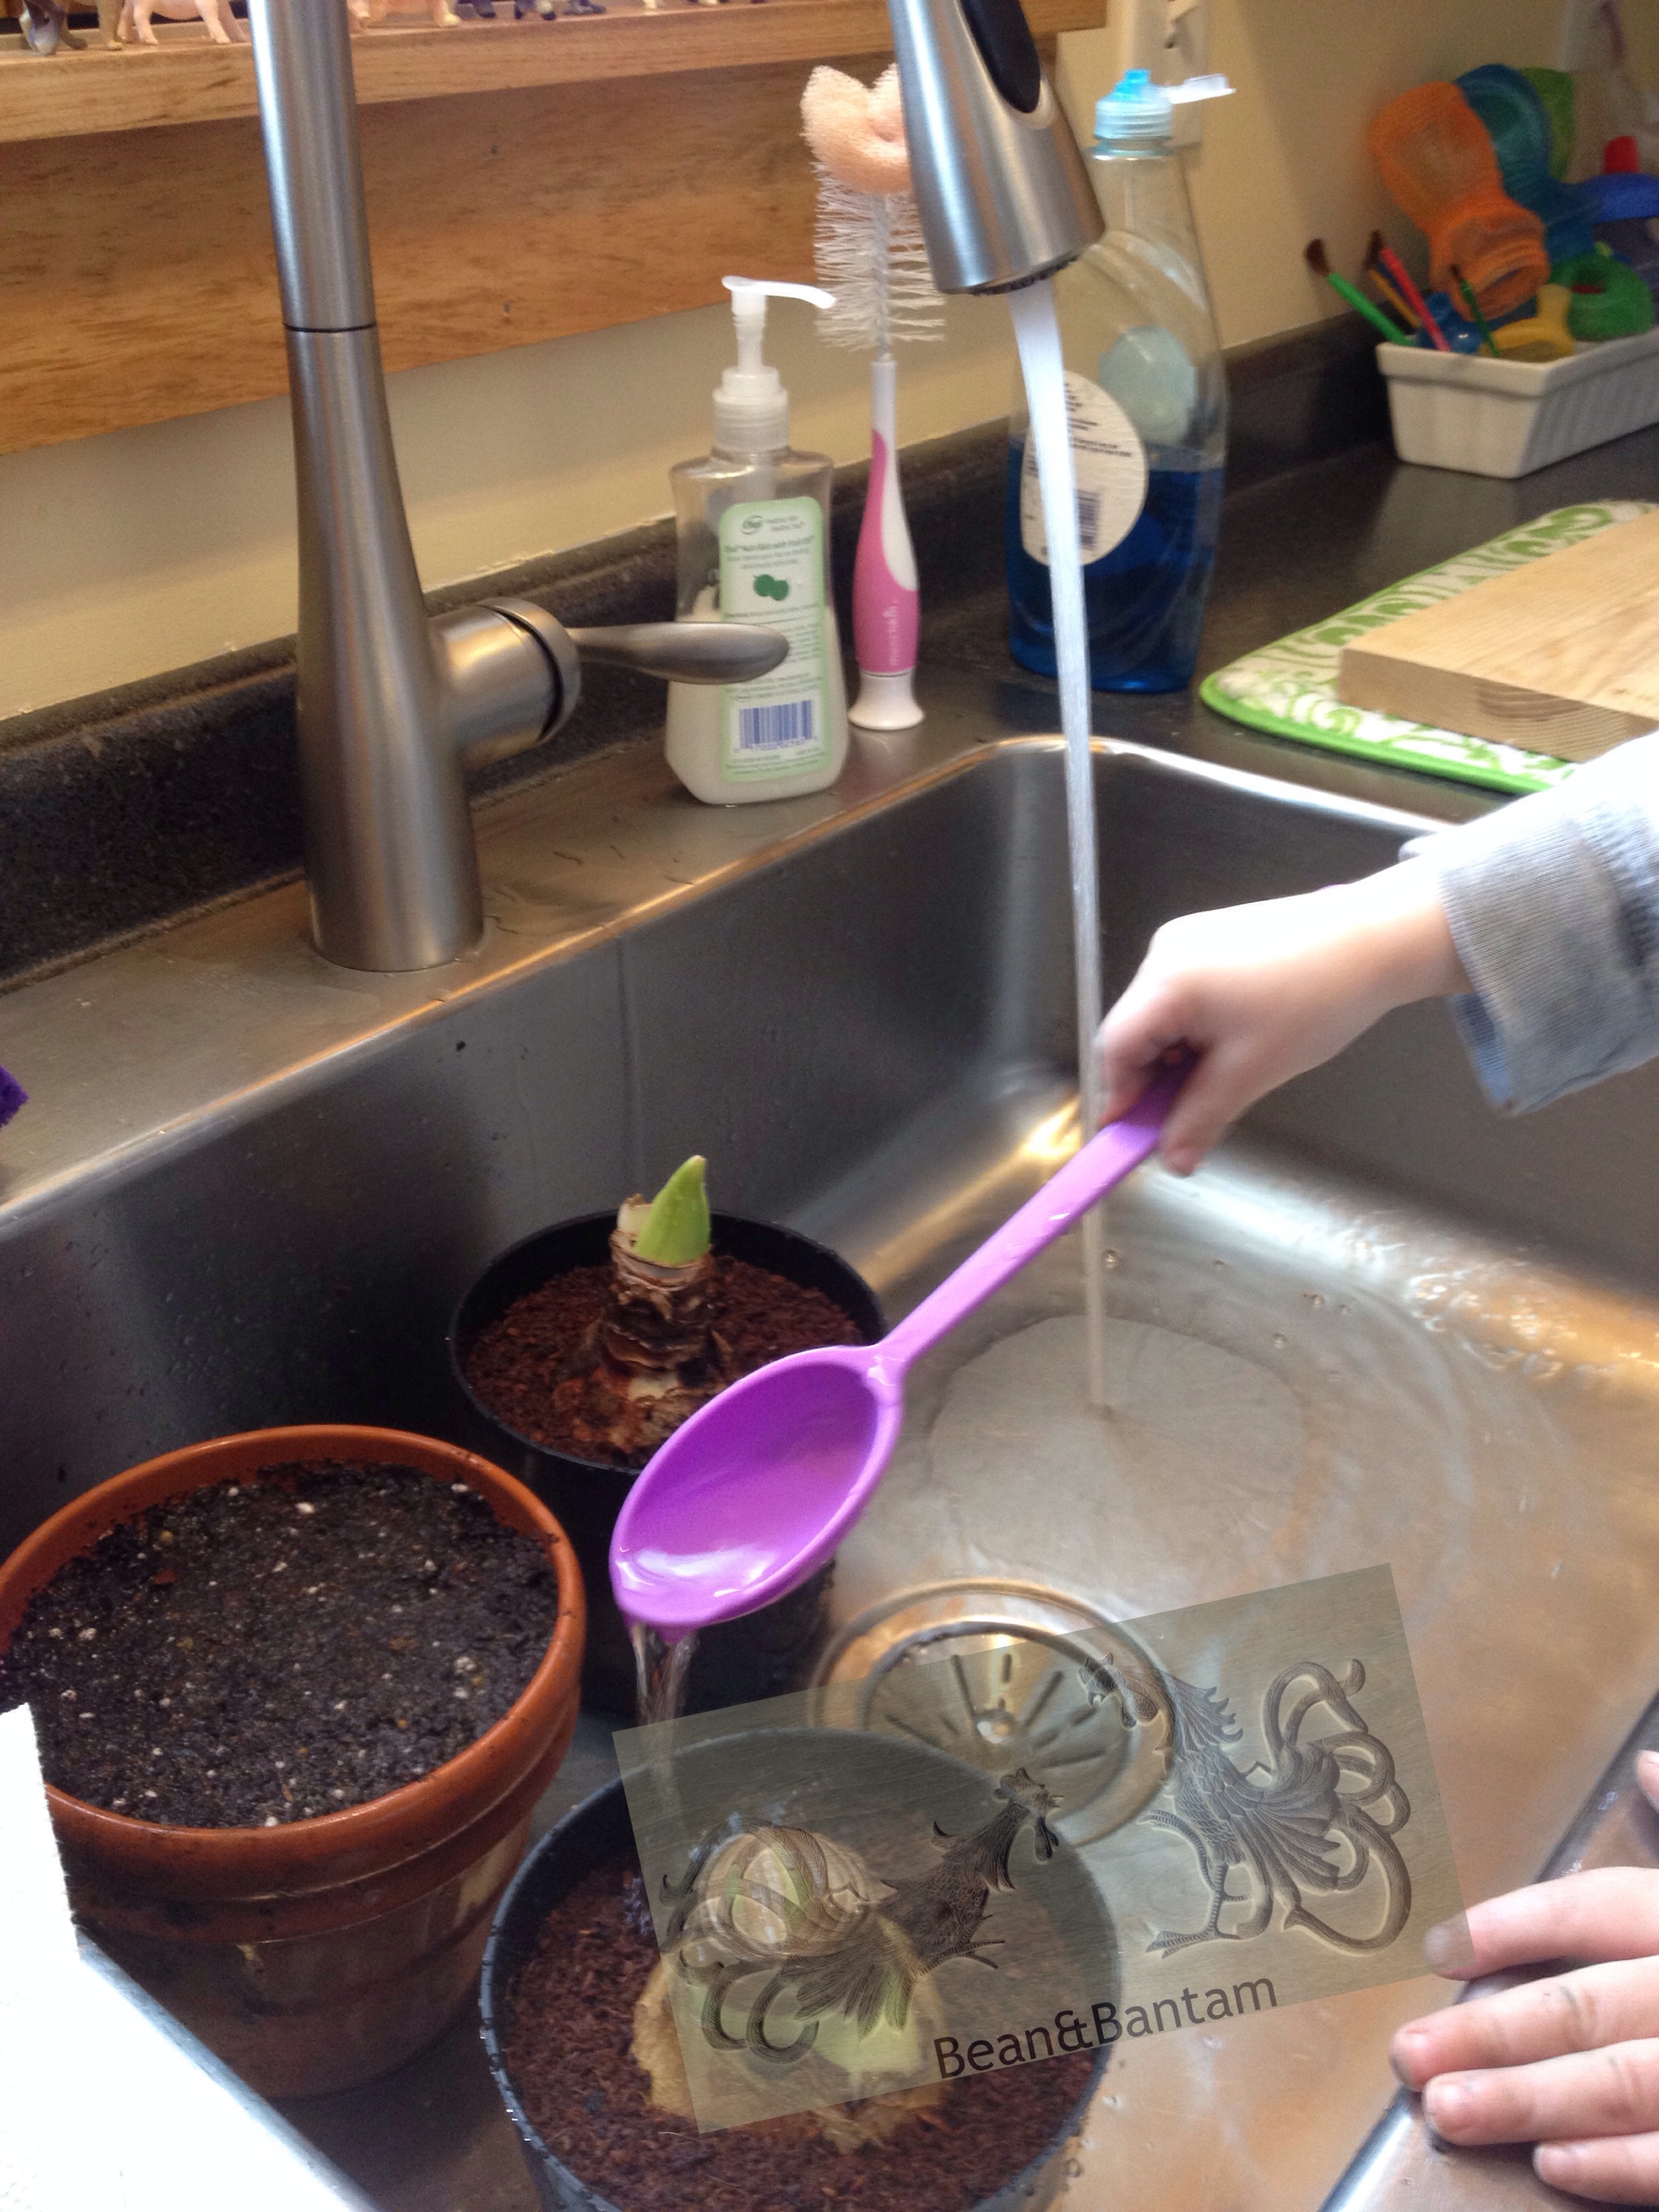
Watering after planting: bring your child and the pots, and the spoon over to the sink, and use the sprayer to water the bulbs. Have your child help by spooning water on the pots. Fill the pots to the top with water, wait for them to drain, and repeat. Once drained, set on saucers.
Clean up newspaper, floor, spoons, and then wash everyone’s hands.
Show and tell: later that day, ask your child to tell another family member or friend about planting; children love show and tell about something they helped with!
We also planted some crocus, but I’m not sure if these will come up. They need to be pre-chilled, and the bulbs may not have been chilled long enough: they were in the crisper drawer for two months, and they may need four months… we’ll see if they come up.


Oh, I love it! What a fun story. You’re building such wonderful memories, and you also have pictures to “show and tell”, now and many years in the future!
LikeLiked by 1 person
My mother used to plant them with my brothers and I every spring. They were so flamboyant and huge when they bloomed. Great for kids.
LikeLiked by 1 person
This is actually great no matter how old your kids are. You might have to agitate a bit more to get older kids to respond, but they still love seeing something grow. This can be a Dad’s project with kids, too. Especially if you can time it to bloom around Mother’s Day, for instance.
LikeLiked by 1 person
Great idea for a project to have kids do for Mother’s Day! They can be a bit unpredictable growing, so it may make sense to start several to get the timing right (hopefully) on at least one.
LikeLiked by 1 person